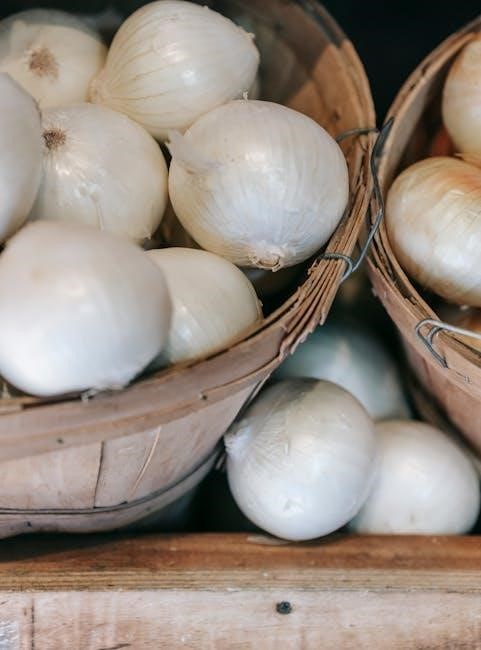
Onion Guide: A Comprehensive Overview
Onions are a fantastic addition to any garden, offering flavorful harvests and pest-repelling benefits! This guide details planting, growing, and curing,
ensuring a successful yield.
Optimal conditions include abundant sunlight, well-drained soil (pH 6.0-6.8), and roughly one inch of water weekly, ideally via drip irrigation.
Understanding Onion Varieties
Onions boast a remarkable diversity, categorized primarily by day length requirements – a crucial factor for successful cultivation. These classifications, short-day, intermediate-day, and long-day, dictate when the bulb begins to form, aligning with the region’s daylight hours.
Short-day onions, needing 10-12 hours of daylight, thrive in southern latitudes. Varieties like Vidalia and Texas Sweet are renowned for their sweetness. Long-day onions, requiring 14-16 hours, flourish in northern regions, producing larger bulbs, though often milder in flavor. Examples include Walla Walla Sweet and Yellow Spanish.
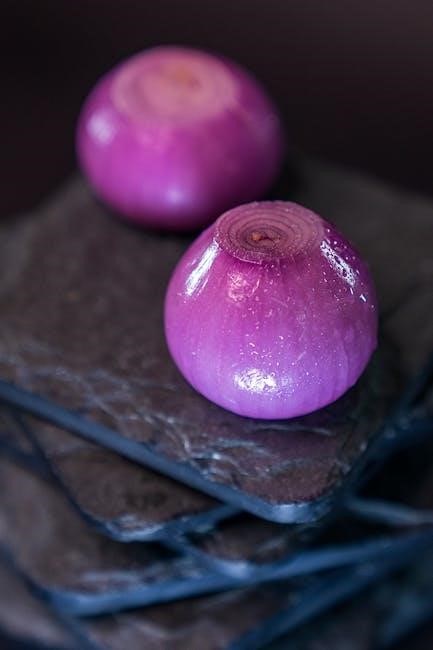
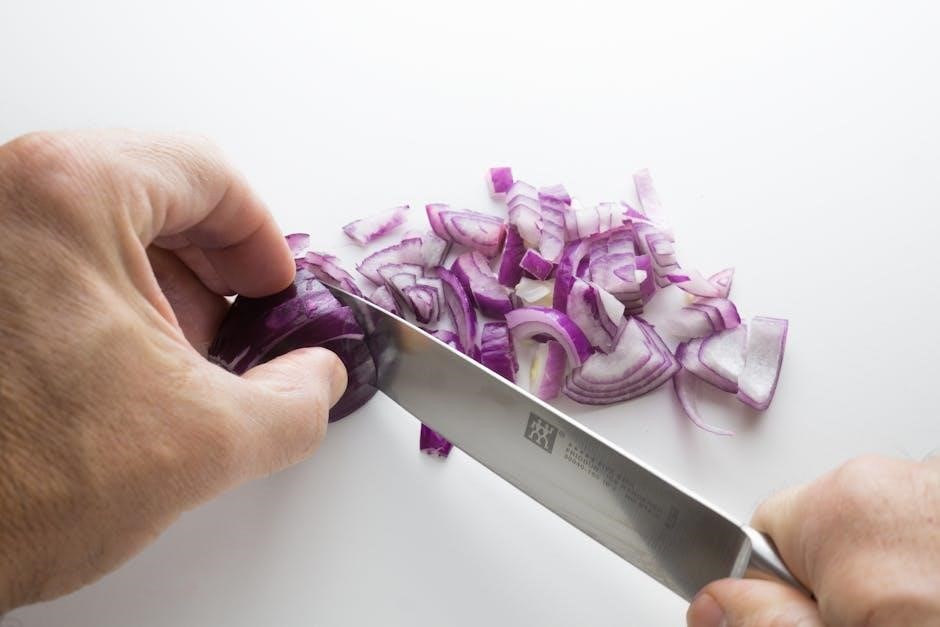
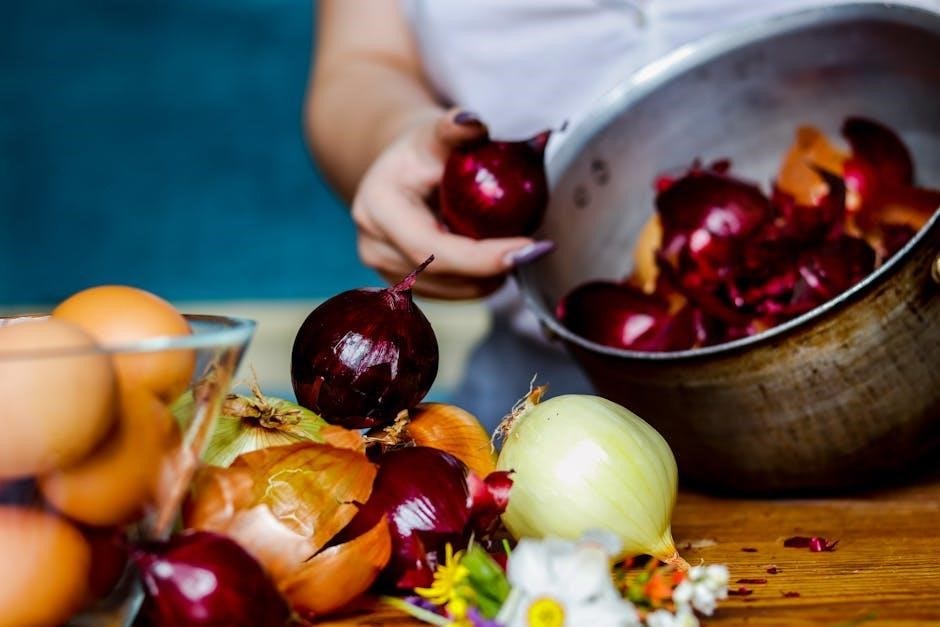
Intermediate-day onions (12-14 hours) offer versatility, performing well in a broader geographical range. These are often the best choice for transitional climates. Beyond day length, onions are also classified by color – yellow, white, and red – each possessing unique flavor profiles and culinary applications. Yellow onions are all-purpose, white are sharper, and red offer a mild, slightly sweet taste.
Understanding these distinctions is paramount for selecting varieties suited to your specific location and desired use, maximizing your gardening success and ensuring a bountiful harvest of flavorful onions.
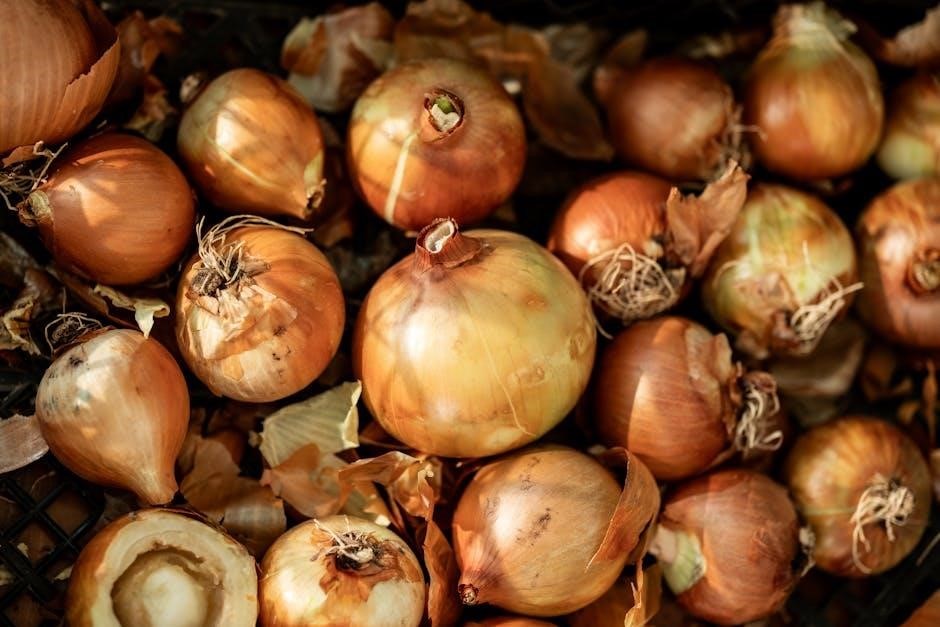
Types of Onions: Short-Day, Intermediate-Day, and Long-Day
Onion varieties are fundamentally categorized by their photoperiod – the duration of daylight needed to trigger bulb formation. This dictates whether an onion will successfully mature in a given region. Short-day onions require 10-12 hours of daylight, making them ideal for southern climates (below 36° latitude). Popular choices include the sweet Vidalia, Crystal White Wax, and Red Creole.

Long-day onions, conversely, demand 14-16 hours of daylight, thriving in northern latitudes (above 36° latitude). These typically produce larger bulbs, though often with a stronger flavor; Notable long-day varieties are Walla Walla Sweet, Yellow Spanish, and Red Wethersfield.
Intermediate-day onions bridge the gap, needing 12-14 hours of daylight. They offer flexibility for gardeners in transitional zones. Examples include Candy and Super Star. Choosing the correct type is crucial; planting a long-day onion in the South will result in lush top growth but no bulb development, and vice versa.
Consider your location’s latitude and average daylight hours when selecting onion varieties to ensure a successful and rewarding harvest.
Choosing the Right Onion for Your Climate
Selecting the appropriate onion type for your specific climate is paramount for a successful harvest. As previously discussed, onions are categorized as short-day, intermediate-day, or long-day varieties, based on their daylight requirements. Gardeners in southern regions, experiencing shorter daylight hours, should prioritize short-day onions like Vidalia or Red Creole. These will bulb properly with the available sunlight.
Northern gardeners, benefiting from extended daylight, should opt for long-day varieties such as Walla Walla Sweet or Yellow Spanish. These need the longer days to initiate bulb formation. Intermediate climates offer more flexibility, allowing for the cultivation of intermediate-day onions like Candy or Super Star, or even adaptable short-day varieties.
Beyond day length, consider your local growing season length and average temperatures. Hot summers can encourage bolting (premature flowering), impacting bulb size. Cooler climates may require starting seeds indoors to extend the growing season. Carefully assess these factors to maximize your onion-growing potential.
Matching the onion type to your climate ensures optimal bulb development and a bountiful harvest.
Planting Onions

Onions can be started from seeds, sets, or seedlings. Seeds require early indoor starting, while sets offer quicker growth. Transplanting seedlings is also effective, ensuring proper spacing for optimal development.
Starting Onions from Seeds
Starting onions from seeds requires a bit more patience but offers a wider variety of options. Begin 8-10 weeks before the last expected frost, sowing seeds densely in trays or containers. This close sowing maximizes space utilization during the initial stages of growth.
Maintain consistent moisture, keeping the soil lightly damp but not waterlogged. A warm environment, around 70-75°F (21-24°C), encourages germination. Once seedlings emerge, provide ample light to prevent them from becoming leggy. Consider using grow lights if natural light is insufficient.
As the seedlings grow several inches tall, carefully separate them. This process, known as “thinning,” allows each plant adequate space to develop strong roots and healthy foliage. These separated seedlings can then be transplanted into individual pots or directly into the garden once the weather warms and the risk of frost has passed.
Remember that seedlings grown from seed will generally take longer to mature than those started from sets, but the reward is a broader selection of onion types and potentially stronger plants overall.
Growing Onions from Sets
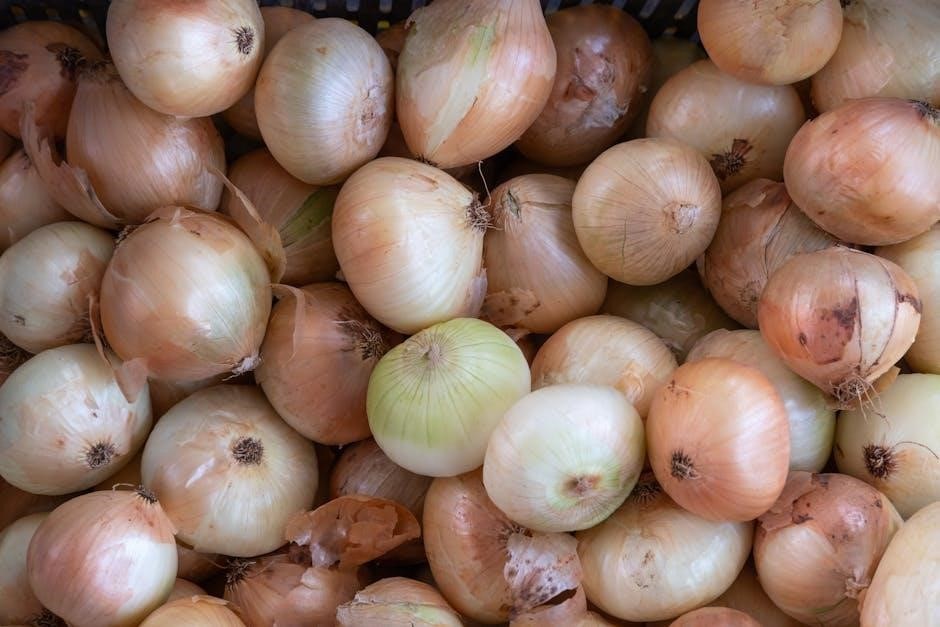
Growing onions from sets – small, immature onion bulbs – is a popular and relatively easy method, especially for beginners. Sets offer a head start compared to seeds, resulting in a quicker harvest. Purchase firm, dry sets, avoiding any that show signs of mold or sprouting.
Plant onion sets directly into the garden in early spring, as soon as the soil can be worked. Space them about 4-6 inches apart, with the pointed end facing upwards. Gently press the sets into the soil, covering them with about an inch of soil, leaving the tips exposed.
Water thoroughly after planting to settle the soil around the sets. Consistent moisture is crucial, particularly during the initial establishment phase. Monitor for weeds, as they can compete with the onions for nutrients and sunlight.
Onions grown from sets typically mature faster than those grown from seed, often reaching harvestable size within 85-100 days. This method is ideal for gardeners seeking a quicker return on their investment and a simpler growing process.
Transplanting Onion Seedlings
Transplanting onion seedlings, started indoors or purchased from a nursery, requires careful handling to ensure successful establishment. Seedlings are delicate and prone to stress, so gentle treatment is key.
Harden off seedlings gradually by exposing them to outdoor conditions for increasing periods over 7-10 days before transplanting. Choose a cloudy day or late afternoon to minimize transplant shock. Space seedlings 4-6 inches apart in rows 12-18 inches apart, ensuring adequate airflow.
Dig holes slightly larger than the root ball and gently place the seedlings, ensuring the base of the leaves is just above the soil surface. Avoid burying the stem, as this can lead to rot. Water thoroughly after transplanting to settle the soil and provide moisture.
Mulching around the seedlings can help retain moisture, suppress weeds, and regulate soil temperature. Monitor for pests and diseases, addressing any issues promptly. With proper care, transplanted seedlings will quickly establish and begin to grow.
Optimal Growing Conditions
Onions thrive in full sunlight and require well-drained soil with a pH between 6.0 and 6.8. Consistent moisture is vital, aiming for one inch weekly!
Sunlight Requirements for Onions
Onions are notoriously sun-loving plants, demanding a significant amount of direct sunlight to flourish and develop properly. At least six to eight hours of sunlight each day is absolutely crucial for optimal growth and bulb formation. Without sufficient sunlight, onion plants will struggle to produce large, flavorful bulbs, resulting in a disappointing harvest.
The intensity of the sunlight also plays a role. During the growing season, especially in regions with shorter days, maximizing sun exposure is paramount. Consider the orientation of your garden and plant onions in a location that receives uninterrupted sunlight throughout the day.
Insufficient sunlight can lead to leggy growth, where the plants focus on producing foliage rather than developing the bulb. This results in smaller, weaker onions with a less intense flavor. Therefore, careful site selection and ensuring ample sunlight are fundamental to successful onion cultivation. Monitoring sunlight patterns throughout the day will help you determine the best location for your onion patch, guaranteeing a bountiful harvest of healthy, robust bulbs.
Soil pH and Drainage for Onion Growth
Onions thrive in well-drained soil with a slightly acidic to neutral pH. Ideally, the soil pH should fall between 6.0 and 6.8 for optimal nutrient absorption and healthy growth. Testing your soil’s pH before planting is highly recommended to determine if any amendments are necessary. If the pH is too low (acidic), adding lime can help raise it. Conversely, sulfur can be used to lower a pH that is too high (alkaline).
Excellent drainage is equally critical. Onions are susceptible to bulb rot if the soil remains consistently soggy. Heavy clay soils, notorious for poor drainage, can be improved by incorporating organic matter like compost or well-rotted manure. Raised beds or rows are also an excellent solution, especially in areas with heavy clay, as they elevate the plants and promote better drainage.
Good soil structure allows for proper root development and aeration, essential for healthy onion growth. Avoid compacting the soil, and ensure it doesn’t form a hard crust that hinders water penetration. Prioritizing both pH balance and drainage will significantly increase your chances of a successful onion harvest.
Watering Onions: Frequency and Methods
Consistent moisture is vital for successful onion growth, but overwatering can be detrimental. Generally, onions require approximately one inch of water per week, encompassing rainfall and irrigation. However, this amount can fluctuate based on weather conditions, soil type, and the onion’s growth stage.
Young, establishing plants and those growing in sandy soils necessitate more frequent watering than mature plants in heavier soils. Monitor the soil moisture regularly; it should be consistently moist but not waterlogged. Drip irrigation or furrow irrigation are highly recommended methods, as they deliver water directly to the roots, minimizing foliage wetness and reducing the risk of fungal diseases.
Avoid overhead watering whenever possible. If overhead watering is unavoidable, do so early in the morning to allow the foliage to dry before nightfall. As onions approach maturity and begin to bulb, gradually reduce watering to encourage proper bulb development and prevent rot. Consistent, targeted watering is key to maximizing yield and quality.
Onion Care and Maintenance
Regular care ensures a bountiful harvest! Fertilize appropriately, diligently control weeds, and proactively manage pests and diseases for optimal onion growth and yield.
Fertilizing Onions for Optimal Yield
Onions are heavy feeders, meaning they require consistent nutrient availability throughout their growth cycle to reach their full potential. A balanced fertilization plan is crucial for developing large, healthy bulbs. Before planting, incorporate well-rotted compost or a balanced fertilizer into the soil to provide a foundational nutrient base.
As onions grow, side-dress them with nitrogen-rich fertilizer several times during the growing season. This is particularly important during the early stages of bulb development. However, avoid excessive nitrogen application later in the season, as this can promote leafy growth at the expense of bulb formation.
Phosphorus and potassium are also essential for onion growth. Phosphorus supports root development, while potassium contributes to bulb size and storage quality; Consider using a fertilizer blend specifically formulated for bulb crops, or supplement with these nutrients as needed based on soil test results. Consistent monitoring of plant health and adjusting fertilization accordingly will maximize your onion yield.
Weed Control in Onion Patches
Onions are notoriously poor competitors with weeds, especially when young. Weeds steal valuable nutrients, water, and sunlight, hindering bulb development. Consistent weed control is therefore paramount for a successful onion harvest. Regular shallow cultivation is effective, but be cautious not to damage the onion’s shallow root system.
Mulching is an excellent strategy for suppressing weed growth and conserving soil moisture; Organic mulches like straw, shredded leaves, or grass clippings work well, but ensure they are weed-free to avoid introducing new problems. Apply a layer of 2-4 inches around the onion plants, keeping it away from the bulbs themselves.
Hand-weeding is often necessary, particularly for weeds that manage to slip through the mulch. Tackle weeds promptly while they are small, as larger weeds are more difficult to remove and can cause more disruption to the onion plants. Vigilance and consistent effort are key to maintaining a weed-free onion patch and maximizing your yield.
Pest and Disease Management for Onions
Onions can be susceptible to several pests and diseases, requiring proactive monitoring and management. Common onion pests include onion maggots, thrips, and onion bulb nematodes. Onion maggots attack the roots and bulbs, while thrips feed on the leaves, causing silvery streaks. Nematodes are microscopic worms that damage the roots.
Disease-wise, pink root, downy mildew, and botrytis neck rot are frequent concerns. Pink root causes reddish discoloration and rotting of the roots, while downy mildew appears as grayish-purple spots on the leaves. Botrytis neck rot affects the neck of the onion, leading to bulb rot.
Preventative measures are crucial. Crop rotation, good air circulation, and avoiding overhead watering can minimize disease risk. Companion planting with alliums can also deter pests. For infestations, consider insecticidal soap or neem oil for thrips and onion maggots. Remove and destroy infected plants promptly to prevent disease spread.
Companion Planting with Onions
Onions offer mutual benefits when planted alongside carrots, cucumbers, and tomatoes, repelling pests and improving growth. Avoid planting near beans or peas!
Beneficial Plants to Grow Alongside Onions
Onions thrive when paired with specific companion plants, creating a mutually beneficial garden ecosystem. Carrots are excellent companions; onions deter carrot root flies, while carrots repel onion flies, offering a natural pest control solution. Cucumbers also benefit greatly, as onions help repel common cucumber pests like aphids and spider mites, leading to healthier, more productive vines.
Tomatoes experience improved growth and flavor when planted near onions. Onions are believed to repel certain tomato pests, and some gardeners suggest they can even enhance the taste of the tomatoes themselves. Chamomile is another fantastic companion, attracting beneficial insects like hoverflies and ladybugs, which prey on onion pests. Furthermore, chamomile is thought to improve the growth and essential oil production in onions.
Summer savory is a herb that can also be planted near onions to deter onion flies. Marigolds, with their strong scent, are known to repel nematodes and other soil pests that can harm onion roots. By strategically incorporating these companion plants, you can create a healthier, more resilient onion patch, reducing the need for chemical interventions and maximizing your harvest.
Plants to Avoid Planting Near Onions
While onions boast numerous beneficial companion plants, certain pairings can hinder their growth or attract unwanted pests; Beans and peas, belonging to the legume family, should be kept separate from onions. These plants release compounds into the soil that can inhibit onion growth, leading to reduced yields and weaker bulbs. Similarly, cabbage and other brassicas like broccoli and cauliflower aren’t ideal neighbors for onions.
Sage and parsley, while often used in cooking alongside onions, can negatively impact their development when grown in close proximity. These herbs compete for nutrients and may attract pests that also target onions. Strawberries are another plant to avoid; they can be susceptible to similar diseases as onions, increasing the risk of widespread infection within your garden.
Furthermore, avoid planting onions near asparagus. Asparagus releases chemicals that can suppress onion growth. Careful planning and consideration of these incompatible pairings will ensure a thriving onion patch and a more productive garden overall, maximizing your harvest and minimizing potential issues.
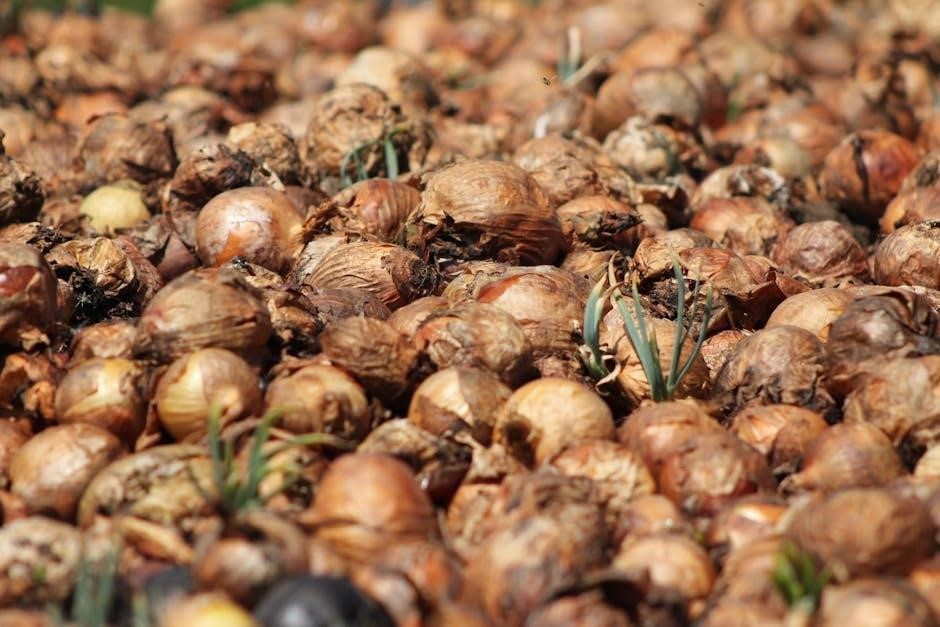
Harvesting and Curing Onions
Harvest when the tops fall over and turn brown! Curing involves drying onions in a warm, dry, well-ventilated space for several weeks, ensuring long-term storage success.
Determining When to Harvest Onions
Knowing precisely when to harvest your onions is crucial for achieving optimal flavor and ensuring they store well throughout the winter months. The most reliable indicator is the appearance of the onion tops. As onions mature, their green tops will begin to fall over, gradually turning yellow and then brown.
Don’t panic if a few tops fall prematurely due to weather or pests, but a widespread collapse signals it’s nearing harvest time. Gently push the soil away from the bulb to assess its size. A mature bulb will be fully formed and firm to the touch.
For bulb onions, wait until at least half of the tops have fallen over before lifting them. For green onions, you can harvest them at any stage, pulling them when they reach your desired size. If you’re unsure, it’s better to err on the side of caution and harvest a few test bulbs. Properly cured onions will last much longer, so timing is key!
Avoid harvesting during or immediately after heavy rain, as this can lead to rot during the curing process. A dry spell is ideal for digging up your onion bounty.
The Curing Process: Drying Onions for Storage
Proper curing is essential for long-term onion storage, transforming freshly harvested bulbs into keepers. After digging, gently shake off excess soil, but avoid washing them. Instead, spread the onions in a single layer in a dry, well-ventilated location, protected from direct sunlight and rain.
Ideal curing spots include a garage, shed, or covered porch. Ensure good airflow by using screens or racks to elevate the onions off the ground. The goal is to allow the outer layers to dry completely, forming a protective papery skin.
This process typically takes 2-3 weeks, depending on the weather conditions. Turn the onions occasionally to ensure even drying. A well-cured onion will have a tight, papery skin and a dry neck. Avoid curing damaged or diseased onions, as they can contaminate the entire batch.
Once cured, trim the roots and cut the tops back to about an inch. Store cured onions in a cool, dark, and dry place for optimal longevity.
Storing Onions for Long-Term Use
Successfully curing onions is only half the battle; proper storage is crucial for enjoying your harvest throughout the winter months. The ideal storage environment is cool, dark, and dry, with good ventilation. Temperatures between 32-40°F (0-4°C) are optimal, significantly extending shelf life.
Several storage methods are effective. Braiding the onion tops and hanging the braids in a cool, dark place is a traditional technique. Alternatively, place cured onions in mesh bags or loosely in slatted crates to allow for airflow. Avoid storing onions in plastic bags, as this traps moisture and promotes spoilage.
Regularly inspect stored onions and remove any that show signs of softening, sprouting, or mold. A well-stored onion can last for several months, providing a flavorful base for countless dishes. Separate sweet onions from pungent varieties, as they have different storage requirements.
Properly stored onions will retain their quality and flavor, bringing the taste of your garden to your table long after the growing season has ended.