Discover the art of creating an origami hummingbird, a complex yet rewarding project requiring patience and practice. Based on the traditional crane structure, this design offers a unique challenge.
1.1 Overview of the Origami Hummingbird
The origami hummingbird is a delicate and intricate paper craft inspired by the traditional crane design. It features a colorful, vibrant appearance, often with different colors on each side of the paper. This model is typically created using a square sheet of origami paper, measuring approximately 24×24 cm, resulting in a hummingbird about 13.5 cm in size. The design captures the bird’s agility and grace, making it a popular choice for both beginners and experienced folders. Its simplicity and charm make it an ideal project for decorations or gifts.
1;2 Importance of Patience and Practice
Crafting an origami hummingbird requires patience and dedication due to its intricate design. Beginners may find the process challenging at first, but consistent practice ensures mastery. Each fold must be precise to achieve the bird’s delicate features. Following step-by-step instructions and referring to tutorials can guide learners through complex steps. Embracing mistakes as part of the learning process fosters improvement. With time and effort, the finished hummingbird becomes a testament to perseverance and skill, making the journey as rewarding as the final result.
Materials Needed for the Origami Hummingbird
A square sheet of origami paper (24cm x 24cm) is ideal, with different colors on each side for a vibrant effect. No additional tools are required.
2.1 Square Paper Requirements
To create an origami hummingbird, you need a square sheet of paper, ideally 24cm x 24cm. This size ensures the final model is large enough to detail. Use paper with different colors on each side for a vibrant, two-toned effect. The square shape is essential for achieving symmetry and precise folds. Opt for high-quality origami paper, such as kami or washi, for durability and a crisp finish. Avoid thinner or patterned papers that may not hold creases well. Properly sized square paper is the foundation for a successful origami hummingbird.
2.2 Choosing the Right Paper Color and Size
Selecting the right paper color and size is crucial for your origami hummingbird. A 24cm x 24cm square is ideal, allowing intricate details to shine. Opt for paper with contrasting colors on each side to create a visually striking bird. Bright hues like green, blue, or red mimic the iridescent feathers of real hummingbirds. While size can vary, smaller sheets may limit detail, and larger ones can be cumbersome. Choose colors that inspire you, as they will enhance the final design and make your hummingbird truly unique and eye-catching.
Step-by-Step Folding Instructions
Start with the crane base, fold the bottom flap up, and shape the wings by folding the top flap down. Repeat and refine to form the body.
3.1 Preparing the Paper
To begin, start with a square sheet of origami paper, ideally between 6×6 inches for detail or 4×4 inches for simplicity. Ensure the paper is free of creases and lies flat. Choose a color that contrasts on both sides for a vibrant effect. First, fold the paper in half diagonally to create a sharp crease, then unfold it—this helps establish the initial fold line. For a more intricate design, consider smaller squares, while larger squares are better for beginners. Always ensure the paper is crisp, as soft folds can lead to wrinkles and misshapen forms.
A well-prepared paper base is essential for achieving precise folds and a symmetrical hummingbird shape. Start by placing the paper colored side up if using dual-sided paper. Lightly crease the center to aid in alignment. For a more durable model, use thicker paper, but remember, thinner paper folds more easily. Avoid creasing too hard initially, as this can weaken the paper. A smooth, flat surface is crucial for even folding. Always handle the paper gently to prevent tears. Once prepared, your paper is ready for the initial folds that will form the hummingbird’s body and wings.
3.2 Creating the Basic Fold
Start with the paper colored side up. Fold it diagonally to create a sharp crease, then unfold it. This initial crease guides subsequent folds. Next, fold the bottom left and right corners to the center, forming a smaller triangle. Turn the paper over and repeat the corner folds. This creates the foundational shape. Fold the paper in half along the initial crease, ensuring alignment for symmetry; Press firmly to secure the fold. This basic fold establishes the hummingbird’s core structure, setting the stage for more detailed steps ahead.
3.3 Forming the Hummingbird’s Body
To form the body, start by folding the paper in half along the initial crease. Open it slightly and fold the top and bottom edges to the centerline, creating layered flaps. Next, fold the top corners diagonally inward to form the neck. Then, fold the bottom half up, tucking it under the top layer to create the body’s shape. Ensure the edges align precisely. Fold the tail section downward to secure the body. This step establishes the hummingbird’s proportions and prepares it for wing and tail formation.
3.4 Folding the Wings
Folding the wings requires precision and care. Start by folding the top layer of the paper downward, creating a triangular shape that aligns with the body. Repeat this step on the opposite side to ensure symmetry. Next, fold the outer edges of the wings inward, tucking them slightly under the body to create depth. Gently pull the wings outward to form a natural curve. Ensure the edges are crisp and the wings are evenly proportioned. This step brings the hummingbird to life, giving it its signature shape and movement.
3.5 Shaping the Tail
Shaping the tail is a delicate process that requires attention to detail. Take the bottom section of the paper and fold it upward, creating a narrow, rounded shape that aligns with the body. Secure the fold by tucking it gently under the body. Adjust the angle of the tail to ensure balance and symmetry. Fold the edges inward slightly to refine the shape. This step completes the hummingbird’s posterior, giving it a polished appearance. Each careful fold brings the bird closer to lifelike form, enhancing its beauty and balance.
3.6 Creating the Head and Beak
To create the head and beak, fold the top layer of the paper downward, forming a small triangle at the front. Gently shape the triangle into a pointed beak by folding the edges inward. Adjust the angle of the head to ensure it aligns naturally with the body. Use small, precise folds to refine the beak’s shape. For added detail, you can lightly crease the area where the eyes would be. This step transforms the basic form into a recognizable hummingbird, completing its charming facial features.
3.7 Final Touches
Once the main structure is complete, refine your hummingbird by adjusting the wings and tail for symmetry. Ensure all folds are crisp and even, smoothing any creases. Gently pull the wings outward to create a natural spread and tweak the tail for balance. Use a toothpick or fine tool to add eye details if desired. Finally, inspect your model, making sure every part aligns properly. These final touches will bring your origami hummingbird to life, giving it a polished and realistic appearance.
Tips for Beginners
Mastering the origami hummingbird starts with patience and practice. Begin with square paper, follow step-by-step tutorials, and don’t hesitate to retry steps. Simplify details for better results.
4.1 Understanding Basic Origami Terms
Mastering basic origami terms is essential for creating a hummingbird. Terms like mountain fold, valley fold, and crease are fundamental. Mountain fold means folding upwards, while valley fold folds downwards. A crease is a line made by folding paper. Understanding these terms helps you follow instructions accurately. Practice basic folds to build confidence. Patience and repetition are key to mastering these techniques, ensuring your hummingbird turns out perfectly. Start with simple folds and gradually move to more complex ones for the best results.
4.2 Using Online Tutorials for Guidance
Online tutorials are invaluable resources for mastering the origami hummingbird. Websites and YouTube channels offer step-by-step guides with visuals and clear instructions. Many tutorials provide detailed close-ups, making it easier to follow complex folds. Some platforms also offer downloadable PDF guides or timelines to pause and rewind. These tools are especially helpful for beginners, as they break down each step into manageable parts. By following these guides closely, you can ensure accuracy and confidence in your folding techniques, leading to a beautifully crafted hummingbird.
Advanced Techniques for the Hummingbird Design
Elevate your origami hummingbird by adding intricate details, blending colors, and refining shapes. Explore layering, feather textures, and custom designs for a unique, professional finish.
5.1 Adding Details to the Hummingbird
Enhance your origami hummingbird by adding fine details such as feather textures, beak shaping, and layering. Use a toothpick or fine tool to create intricate patterns. Experiment with layering techniques to add depth to the wings and body. For a realistic touch, shape the beak precisely and refine the tail feathers. You can also add color variations or patterns using markers or colored pencils for a personalized look. These small touches will make your hummingbird stand out and give it a lifelike appearance.
5.2 Customizing the Design
Personalize your origami hummingbird by experimenting with colors, sizes, and unique features. Use paper with different colors on each side to create a vibrant effect. Adjust the size by starting with larger or smaller squares for varying proportions. Add embellishments like tiny paper eyes or a delicate beak extension. You can also layer additional folds to create feather-like textures or modify the wing shape for a more dynamic appearance. These customizations allow you to infuse your personality into the design, making each hummingbird truly one-of-a-kind and reflective of your creativity.

The Symbolism of the Hummingbird
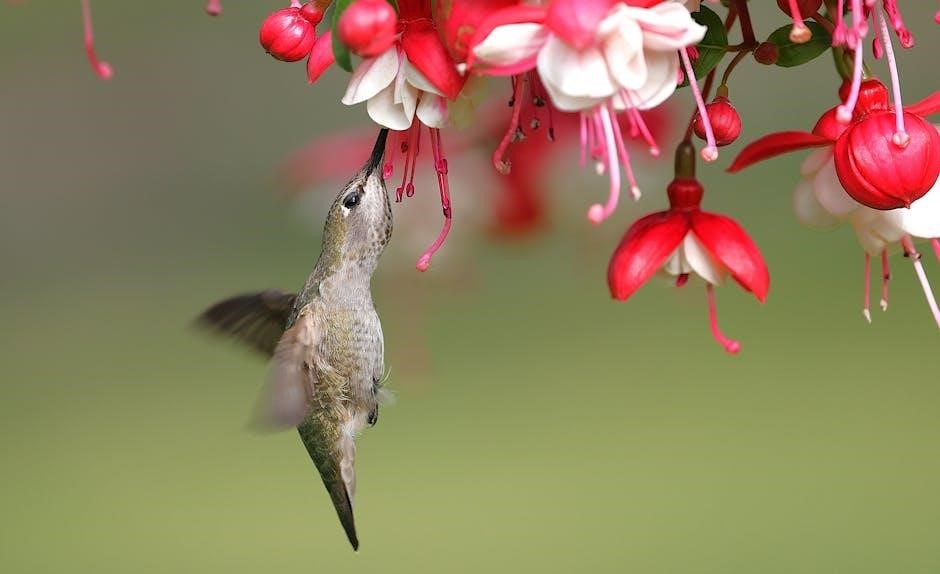
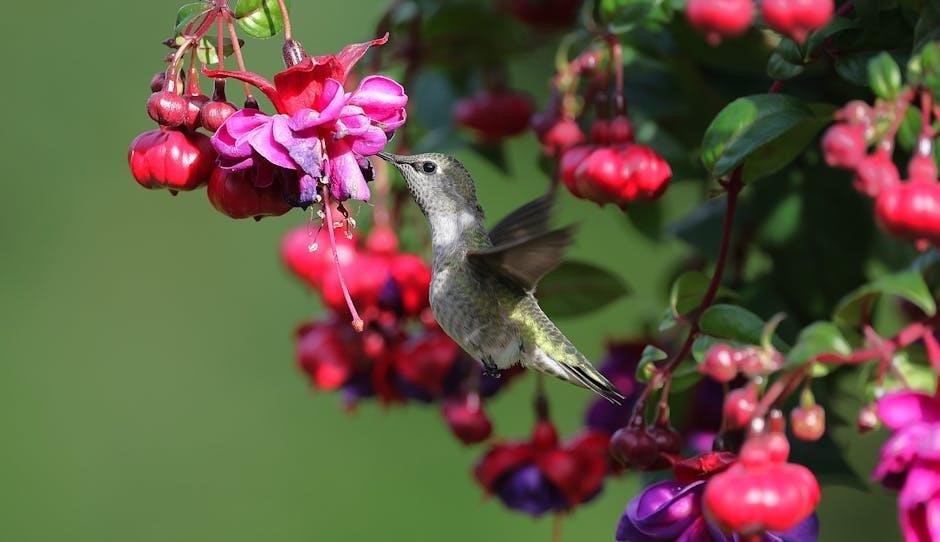
The hummingbird symbolizes agility, beauty, and resilience, making it a meaningful subject for origami. Its vibrant presence and graceful flight inspire creativity and cultural appreciation worldwide.
6.1 Cultural Significance
The hummingbird holds deep cultural significance across various societies, often symbolizing life, energy, and vitality. In Latin American cultures, it represents resilience and joy, while in Native American traditions, it is seen as a messenger of the gods. Its iridescent feathers and graceful flight inspire artistic depictions in folklore, textiles, and art. The hummingbird’s ability to hover in place, sipping nectar, has led to its association with patience and precision, qualities mirrored in the meticulous process of origami. Its cultural allure makes it a beloved subject in paper crafting, bridging tradition and modern artistry.
6.2 The Hummingbird as a Symbol of Agility
The hummingbird, known for its rapid wing movements and nimble flight, is a powerful symbol of agility and quickness. Its ability to hover in place and dart between flowers with precision reflects its remarkable adaptability. In origami, capturing the hummingbird’s essence requires delicate folds that mirror its lightweight yet resilient nature. This bird often symbolizes aspirations for swiftness and grace, making it a meaningful subject for origami enthusiasts seeking to embody these qualities in their creations.
Creative Uses for Your Finished Hummingbird
Your origami hummingbird can be used as a decorative piece, a thoughtful gift, or even as part of a creative mobile or jewelry design. It’s perfect for adding a touch of elegance to any space or event.
7;1 Decoration Ideas
Your origami hummingbird can be a stunning decorative piece. Display it on a shelf, in a glass case, or as part of a nature-inspired centerpiece. Group multiple hummingbirds together for a vibrant mobile or attach them to floral arrangements for a unique touch. You can also use them as ornaments for special occasions or attach one to a card for a personalized gift. Experiment with placing your hummingbird near artificial flowers or greenery to create a lifelike scene. Its intricate design adds elegance to any room, making it a standout decorative item.
7.2 Gift Ideas
Your origami hummingbird makes a thoughtful and unique gift. Consider presenting it in a decorative box or tied with a ribbon for a personalized touch. Attach it to a greeting card for a special occasion or include it in a themed gift basket. It’s also a great educational tool for children, teaching them about origami and birds. For a charitable twist, create a flock and donate to a cause, inspired by the UN Water Conference where origami hummingbirds symbolized hope. Customize the bird with different colors or sizes to make each gift distinctive and meaningful.

Troubleshooting Common Mistakes
Identify and fix folding errors, such as uneven wings or a misshapen body, by carefully retracing steps and ensuring precise creases. Patience is key to correction.
8.1 Identifying and Correcting Folding Errors
Common mistakes include uneven wings, a misshapen body, or improper creases. To correct these, carefully retrace each fold, ensuring symmetry and precision. If wings appear asymmetrical, adjust by refolding them step-by-step. For body alignment issues, check the base folds and realign as needed. Use a flat surface to smooth out creases and ensure the paper lies flat. Patience is key—small adjustments can make a significant difference in the final result. Attention to detail will help you achieve a balanced and visually appealing origami hummingbird.
Related Origami Projects
After mastering the hummingbird, explore other bird designs like origami parrots and eagles, which share similar folding techniques and intricate details, offering new creative challenges.
9.1 Origami Parrots
Origami parrots are a delightful and colorful project that shares similarities with the hummingbird in terms of intricate folding techniques; They require a square paper, typically 24cm, with different colors on each side to create a vibrant effect. The process involves detailed steps to shape the beak, wings, and tail, resulting in a lifelike bird. Parrots are an excellent next project after mastering the hummingbird, offering a fun challenge and a beautiful addition to your origami collection.
9.2 Origami Eagles
Origami eagles are a majestic project that captures the essence of freedom and strength. Using a square paper, this design requires precise folding to create the eagle’s wings and tail. The process involves intricate steps to shape the bird’s features, resulting in a realistic and awe-inspiring piece. Like the hummingbird, the eagle symbolizes agility and grace, making it a popular choice for origami enthusiasts. This challenging yet rewarding project is perfect for those looking to advance their folding skills and create a stunning representation of one of nature’s most powerful birds.